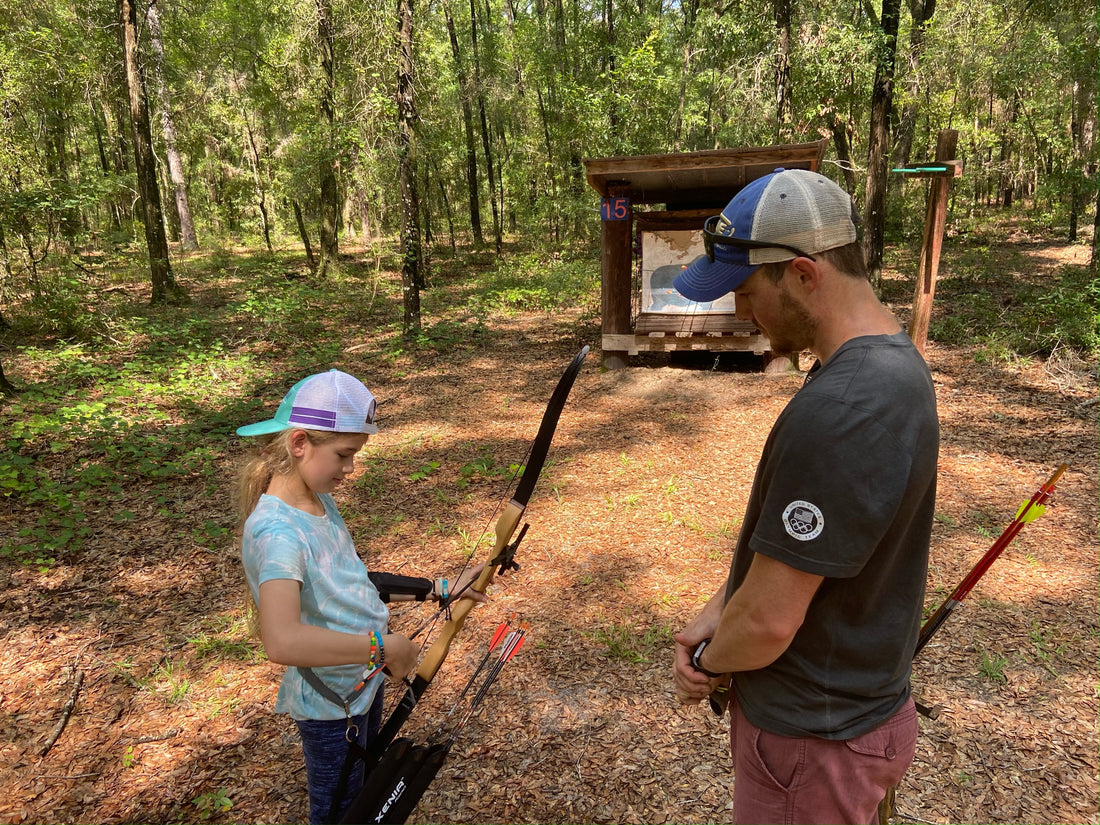
Advancing Your Archery Form: Refining Positioning and Body Awareness with the KSL/NTS Shot Cycle
Share
Continuing our series on applying the KSL/NTS shot cycle to your shooting style, this post takes a deeper dive into the specifics of positioning and body awareness. While previous articles have introduced the basic steps of the system, now is the time to focus on the finer details that can make all the difference between inconsistency and precision.
The Essential Tools for Success
Before delving into the technique itself, it's important to set yourself up with the right training tools. Even if you regularly shoot heavy draw weights, starting with a lightweight bow or training aid is crucial when learning new form changes. Consider these tools:
-
Lightweight Bows or Training Limbs:
A bow with lighter limbs (such as an 18-pound setup) or a training limb is ideal. These allow you to experiment with new positioning without overexerting your muscles or risking injury. -
Stretch Bands:
Training with a stretch band is an excellent way to simulate the shot cycle with minimal resistance. Use lighter-colored bands (red or yellow) to maintain safety while you focus on form. -
Mirrors and Feedback:
A mirror—or even recording yourself—helps you monitor your alignment, posture, and movement.
Revisiting the Basics
At the core of the KSL/NTS system are seven key steps:
- Set Position
- Set Up
- Loading
- Anchor
- Transfer
- Expansion
- Follow Through
These steps serve as the foundation of your shot cycle. Today, we’re zeroing in on how to refine these phases—especially the transition from set position to set up—and to build stronger body awareness.
From Set Position to Set Up: Achieving Optimal Alignment
The journey from set position to set up is critical for a repeatable and effective shot cycle. Here’s how to make this transition work for you:
-
Beyond Brace Height:
Rather than relying solely on equipment cues like brace height (the distance from the grip to the string at rest), focus on how your body feels. Your set position is simply a snapshot of your readiness, and the move to set up should be fluid and naturally aligned with your body. -
Alignment Matters:
Aim to create a straight line from your rear shoulder through your front shoulder to your wrist. As you transition, allow your body to move into alignment by rotating your chest and slightly increasing your draw length. This controlled movement ensures that you remain in a strong, consistent posture without sacrificing power or stability. -
Leading with the Shoulder:
When drawing the bow, engage your back and shoulder muscles rather than relying on your hand or biceps. Leading with the shoulder not only utilizes larger, more powerful muscles but also helps maintain proper alignment and reduces the risk of fatigue.
Cultivating Body Awareness and Maintaining Proper Posture
A key aspect of the shot cycle is controlling your overall body posture. This involves two primary elements:
-
Hips Tucked & Chest Dropped:
To achieve proper alignment, tuck your hips under and drop your chest. This position prevents you from unintentionally lifting your shoulders as you draw the bow, ensuring that your back remains flat. Keeping your hips tucked and chest dropped also creates the necessary clearance so that the string doesn’t interfere with your body during the shot. -
Independent Arm Control:
Learn to lift your arm without elevating your shoulder. This fine-tuned control minimizes unnecessary movement and helps maintain stability throughout your shot cycle. Focus on using your large, stable muscles and proper bone alignment rather than overcompensating with smaller muscles in your arm.
Self-Coaching: The Key to Consistency
Refining your form isn’t something that happens overnight. It requires deliberate practice, self-coaching, and constant feedback:
-
Monitor and Adjust:
Use a mirror or record yourself to observe details like your elbow height, shoulder alignment, and overall body posture. Even slight deviations can lead to inconsistency over time. -
Develop Mental Cues:
Create a series of mental cues (such as “set, set up, load, anchor, transfer, expand, follow through”) to guide you through each shot. These cues help build muscle memory and ensure that every aspect of your form is executed as intended. -
Stay Consistent:
Remember, the goal is repeatability. By consistently following the same steps and focusing on the correct details, you’ll be better equipped to perform under pressure—whether you’re practicing in your backyard or competing in a tournament.
Final Thoughts
Advancing your archery form is a journey of continuous improvement. By integrating proper positioning, maintaining awareness of your body, and using the right training tools, you can refine the KSL/NTS shot cycle to become more consistent, accurate, and injury-free. It’s not just about shooting arrows; it’s about developing a system that allows you to rely on your fundamentals even when the pressure is on.
Take your time, observe your form, and don’t be afraid to adjust. The more deliberate your practice, the sooner these new habits will become second nature.
Join the Conversation:
Have you tried refining your set-to-set-up transition? What tools or techniques have helped you the most in achieving proper alignment? Share your experiences in the comments below and let’s continue to learn and grow together.
Happy shooting, and here’s to mastering your craft one deliberate step at a time!

