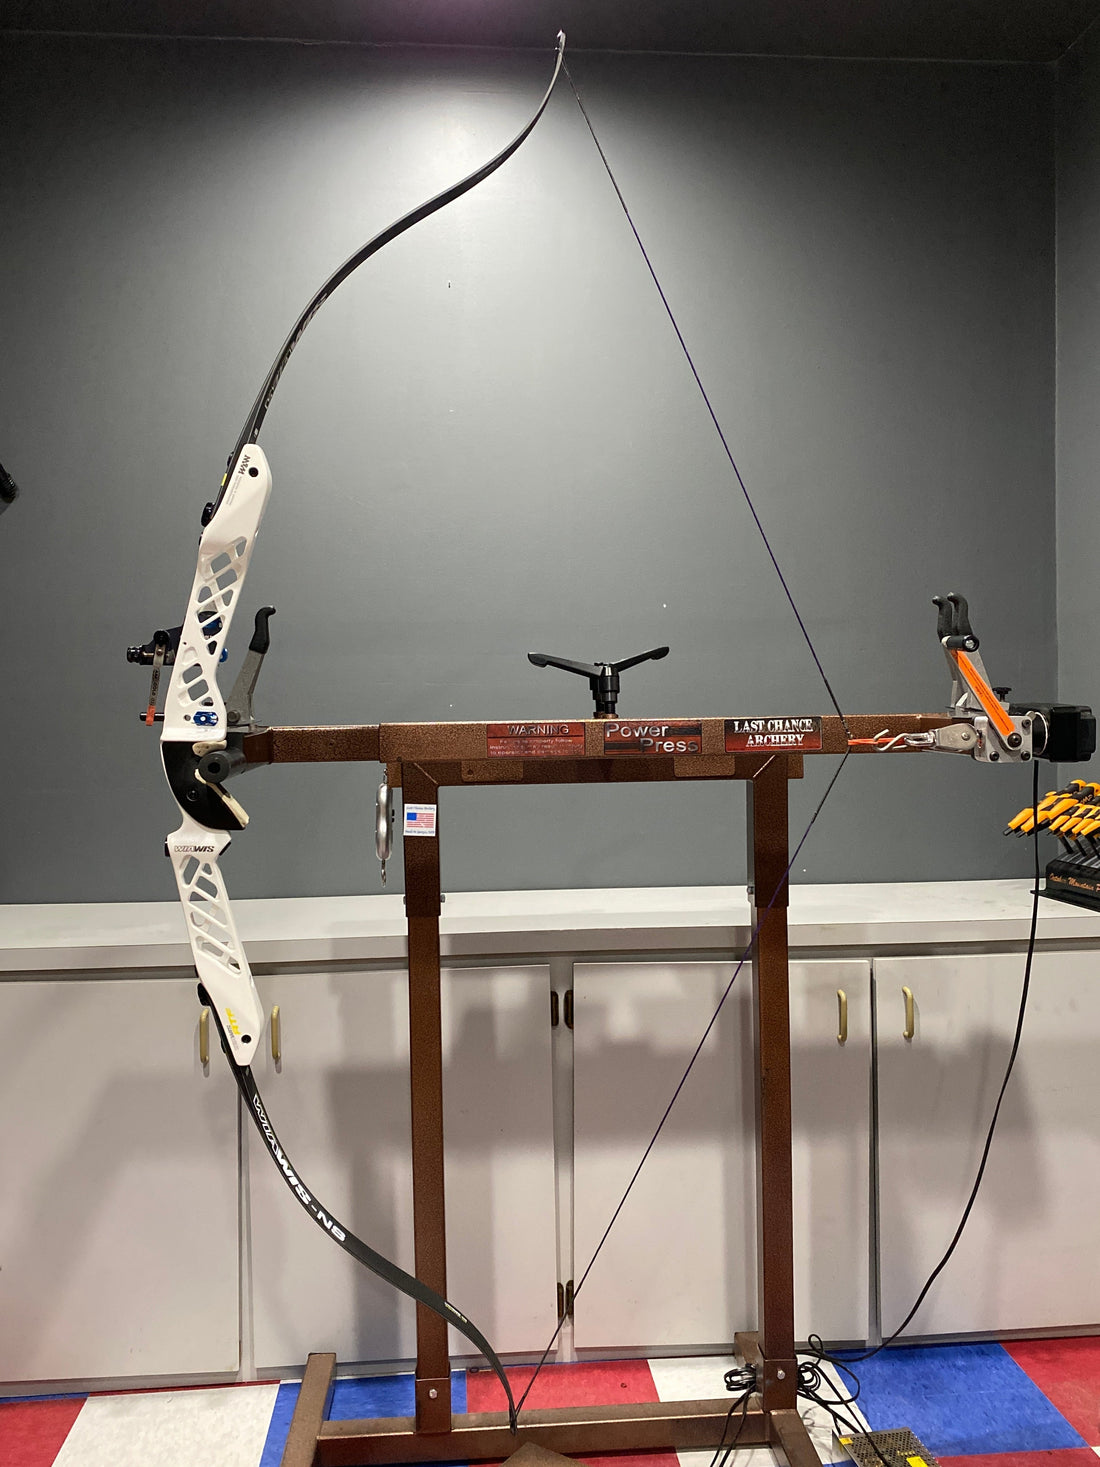
Tuning Your Recurve Bow
Share
Hey, I’m Jake Kaminski, two-time Olympic silver medalist, and welcome to the tuning series blog—a prequel to our upcoming video series on how I take a recurve bow from fresh out of the box to being perfectly tuned for World Championships and the Olympic Games. In this post, I’m excited to share my journey and break down the tuning process step-by-step, along with the essential tools and techniques I use to achieve a consistent, forgiving setup.
My Archery Journey and the Evolution of Tuning
My tuning story began when I moved to the Olympic Training Center in 2006 to train full-time under Coach Lee. During those formative years, the center was buzzing with experts from various companies, all eager to showcase their equipment and tuning techniques. As someone who always needed a clear explanation for every process, I asked questions relentlessly. If an expert couldn’t give me a solid “why” behind their methods, I knew I had to do my own research.
That inquisitive mindset led me to develop my own approach to tuning—a system designed to take a bow from “square one” to championship performance. Whether you’re a beginner or an experienced archer looking to refresh your tuning routine, this series is designed to offer valuable insights on every aspect of the process.
What Is Bow Tuning and Why It Matters
Bow tuning is more than just adjusting the components of your recurve bow; it’s about achieving harmony between your equipment and your shooting style. A well-tuned bow:
-
Delivers Consistency:
Every shot is repeatable, allowing you to perform under pressure. -
Optimizes Performance:
Proper tuning ensures your bow is forgiving and aligned, translating into tighter groupings and improved accuracy. -
Prevents Injury:
A correctly tuned bow minimizes unnecessary strain on your body, especially important as you push your limits.
The process starts with setting a rough baseline and then fine-tuning each element so that every component—from bow weight to arrow spine—is in perfect balance.
My Step-by-Step Tuning Process
Here’s an overview of the order of operations I follow when tuning a recurve bow:
1. Set a Rough Bow Weight
Begin by determining the rough bow weight you plan to shoot. This baseline is crucial as it influences all subsequent adjustments.
2. Establish a Rough Tiller
Adjust the tiller to a rough setting (usually between a 1/8 to 1/4 split) so that the limbs are balanced relative to each other.
3. Limb Alignment
Align the limbs both in plane with each other and in line with the center of the riser. Proper limb alignment is key to ensuring your center shot is accurate.
4. Center Shot and Stabilization Setup
Fine-tune the center shot and set up your stabilizers. This step ensures that your bow’s dynamics are optimized for consistent performance.
5. Final Tiller Adjustment
After installing the stabilizers, make any necessary final adjustments to the tiller to lock in the setup.
6. Rough Bare Shaft Tune
Using a set of six arrows (for example, three fletched and three bare) shot at an 80-centimeter target face from 30 meters, establish a rough bare shaft tune that suits your shooting style.
7. Brace Height
Set your brace height using a method that works best for you. I use a specific approach to determine the optimal distance, which I’ll explain in detail in a later post.
8. Walk Back Tune
Perform a walk back tune to ensure that your bow remains balanced as you move farther from the target.
9. Final Bare Shaft Tune and Fine Tuning
Conclude with a final bare shaft tune, and then move on to fine tuning. This ensures every element is squared from the start, reducing the need for compensations later on.
Remember, each step in this process is interconnected. For example, misaligned limbs will affect your center shot and ultimately your overall dynamic tune. The goal is to start from a clean slate so that every adjustment enhances performance rather than creating new issues.
Essential Tools for Tuning
To achieve a professional setup, having the right tools is critical. Here’s what I recommend:
-
Bow Scale:
A basic luggage scale can be used to set and verify your rough bow weight. -
Bow Vise and Top Tube Clamp:
These tools help secure your bow during the tuning process. A top tube clamp—like those used in cycling—can be an effective alternative. -
Beiter Blocks:
Necessary for limb alignment. -
Spine Checker:
An essential tool for assessing arrow spine and ensuring your arrows are properly matched to your bow’s tuning. -
Level:
A clamp-on level can help ensure your bow is perfectly aligned during setup. -
Allen Wrenches and Pliers:
Basic hand tools for making adjustments. -
A Camera or Mirror:
Use your phone’s camera or a mirror to monitor your form and alignment as you make adjustments.
I aim to keep things simple, so while some may opt for expensive laser tools, the essentials above will get you well on your way to a properly tuned recurve bow.
Looking Ahead
In upcoming videos and blog posts, I’ll break down each of these tuning steps in greater detail, explaining not only the “how” but also the “why” behind each adjustment. I’ll also delve into arrow building—covering everything from spine selection to string building and knock tying—to provide a comprehensive resource for archers at all levels.
If you’re eager to learn more about my tuning process or need a refresher on the basics, I encourage you to check out the related resources and guides linked below. Your feedback and questions are invaluable, so please feel free to share your thoughts in the comments.
Final Thoughts
Tuning your bow is a journey—from understanding the basics to mastering every nuanced adjustment—that can take your performance from average to championship-ready. I’m excited to share my methods and insights with you as we embark on this tuning series together.
Thank you for joining me on this ride, and stay tuned for more in-depth tuning guides and tips. Here’s to taking your recurve bow from the box to the big stage!
Happy tuning, and see you on the range!

